View/Work Budget Figures by Month
|
Screen ID: Screen Title:
Panel Number: |
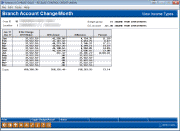
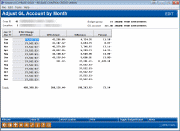
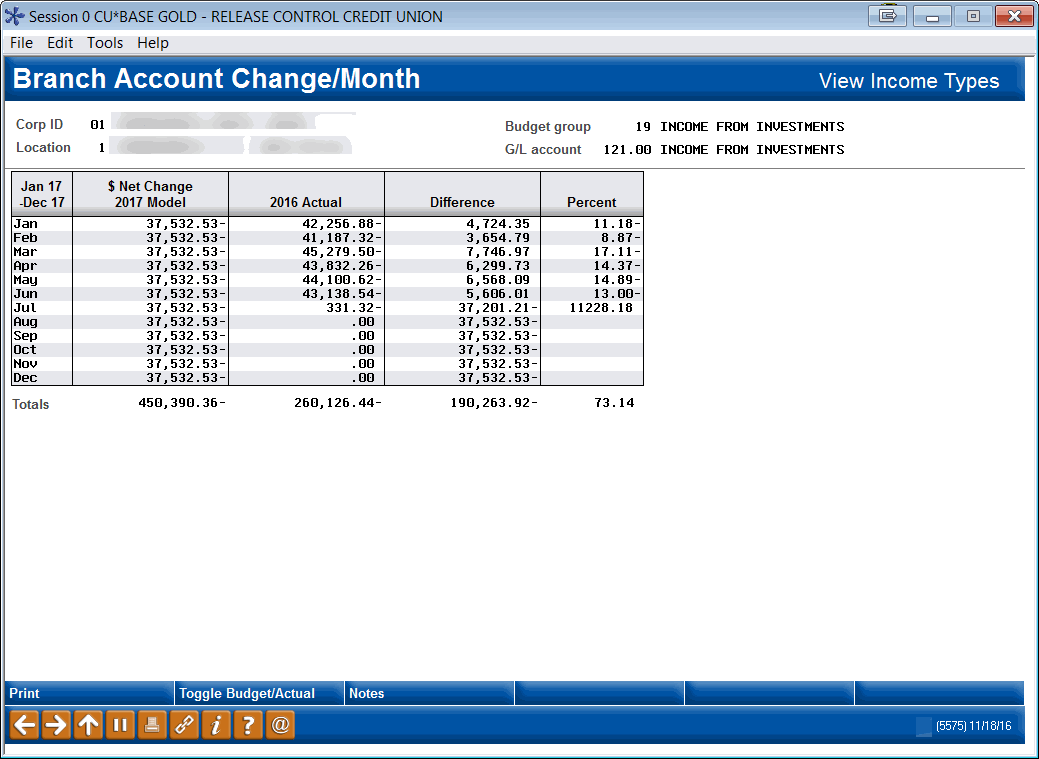
UGLBUDD-1 Adjust GL Account by Month or Budget Group Change by Month or GL Account Change by Month or Branch Account Change/Month 5575 |
|
This screen appears after using “Edit” on the Budget Dashboard screen (after drilling down to a specific G/L and branch). It will also appear as view-only after using “View by Month” on any Budget Dashboard screen (by Budget Group, or by G/L for all branches, or for a single G/L and branch).
For complete step-by-step instructions on how to change budget figures for a single G/L or a single month, refer to the Budgeting booklet.
This screen has two main uses:
-
When viewing your Budget Dashboard, use the “View by Month” feature to see month-by-month budget figures for any Budget Group, G/L account, or branch G/L. If you first drill all the way down to the branch level, then viewing this screen shows you the individual budget figures that actually make up the CBX budget “spreadsheet” at the most granular level.
-
A maintenance version of this same screen can also be accessed by first drilling down to the branch level in the Budget Dashboard, then using “Edit” to adjust individual monthly figures for that branch G/L.
IMPORTANT: Whether
entering individual monthly figures or allocating an annual figure across
all months, always remember to
enter a “-” (minus) sign at the end of the number if working with
a credit-balance G/L (such as an income G/L). Like
this: 
Adjusting Budget Figures
-
Enter figures for each individual month
(Remember to include the “-” (minus) sign for a credit-balance G/L)
OR
-
Use Allocate to enter an annual total and divide it evenly across all months
(Remember to include the “-” (minus) sign for a credit-balance G/L) -
Using Enter as needed to recalculate totals and review your work (nothing is saved until you are ready)
-
When changes are complete, use Save to save all changes
-
Use Next GL or Next Location if you wish to edit another G/L, or use the back arrow to return to the Budget Dashboard
-
When done, use up arrow to exit
TIP: At any time you can use the Notes button to jot down notes about the changes you are making. These are saved with the budget (there is just one set of notes per G/L type, so as you work on additional G/Ls, you’ll simply append your new notes to the bottom of any existing ones). For more details about Budget Notes and their use in the Budget Archive, refer to the Budgeting booklet.