Configuring Misc. Member Account Forms
|
Screen ID: Screen Title: Panel Number: |
UNAFRM-01 Misc. Member Account Forms Layout 3741 |
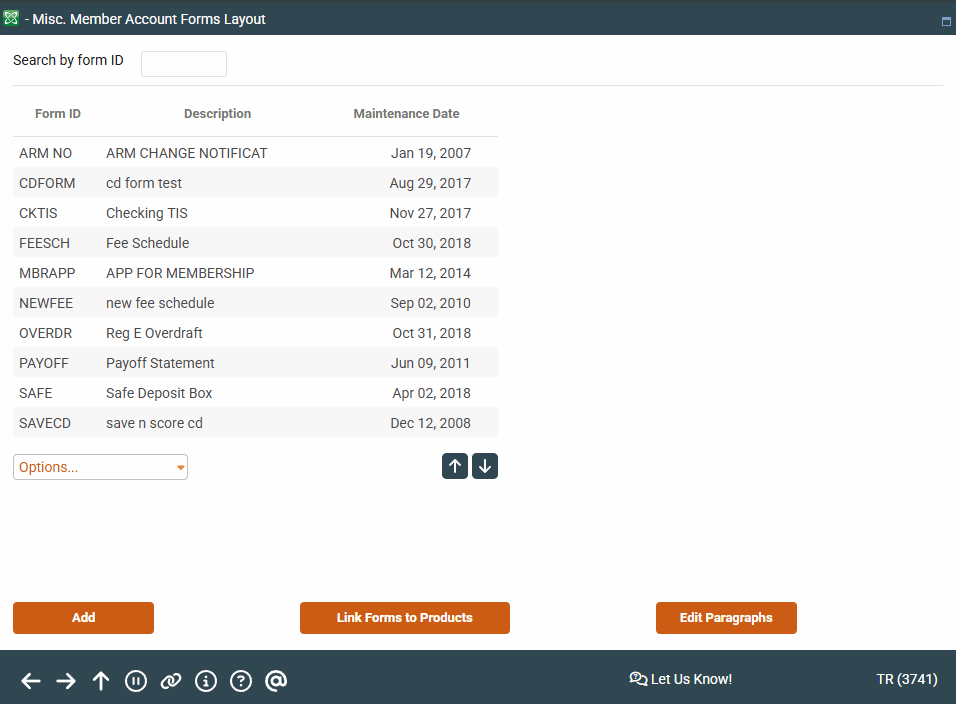
Access this screen via Tool #261 Configure Misc Member Account Forms.
Helpful Resources
For complete information on using these screens to set up new account forms and TIS disclosures, refer to the Miscellaneous Member Account Forms booklet.
Learn how to edit a miscellaneous member account form.
Forms can also be created using the CU*Forms feature. Learn more: CU*Forms booklet
Screen Overview
Use Miscellaneous Member Account forms to configure customized forms that can be used when new accounts are created, including membership cards, fee lists, TIS disclosures, and even specialized marketing pieces that can be printed from any CBX workstation. These professional, high quality laser forms are flexible and powerful enough to be used for any of your member service print needs - limited only to your imagination!
This is the starting point for all of the steps necessary to configure a Member Account Form. From this screen, you may create or modify the form layout design, as well as create generic text paragraphs. For forms such as TIS disclosures that should print whenever a new account is created, a button lets you link the form to a credit union share or certificate product.
Unless you are designing a form with no text paragraphs, the first step before creating a Form ID is to type the generic text paragraphs that will make up the body of the form(s). Use Edit Paragraphs to begin.
-
If all of the paragraphs you need have already been created, use Add to create a new form, or select a form and use Change to edit an existing form.
Buttons
|
Button |
Description |
|
Use this to create a new form layout. |
|
|
Use this to link existing forms to your credit union products. This must be done in order for a form to print automatically when an account is opened. |
|
|
Use this to type the generic text paragraphs for all your forms. |